<精彩开源项目分享>基于Arduino和OLED显示屏实现《生命游戏》中的微型细胞自动机
项目概述
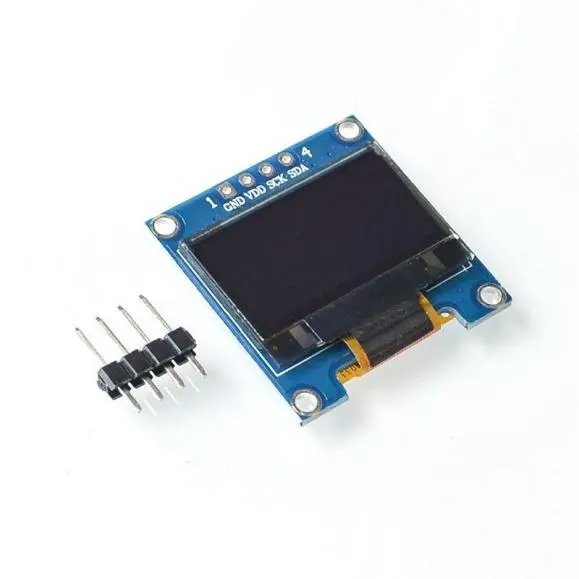
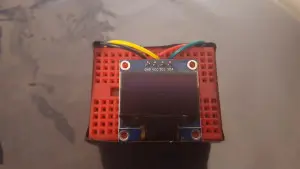
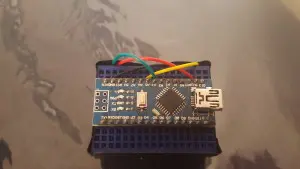
该项目使用I2C 128×64 OLED显示一个由Arduino Nano驱动的微型细胞自动机。
器件和材料
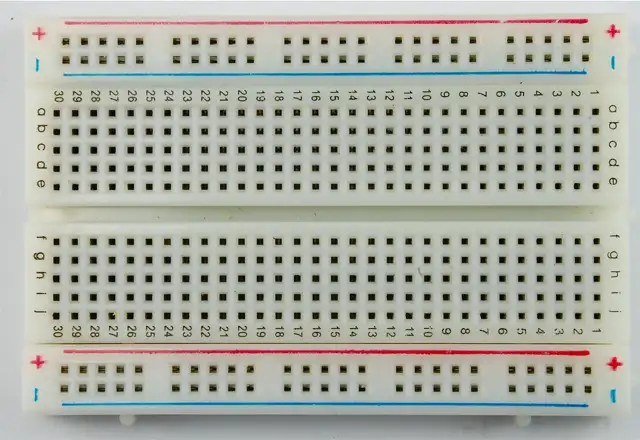
- 半寸面包试验板 2块
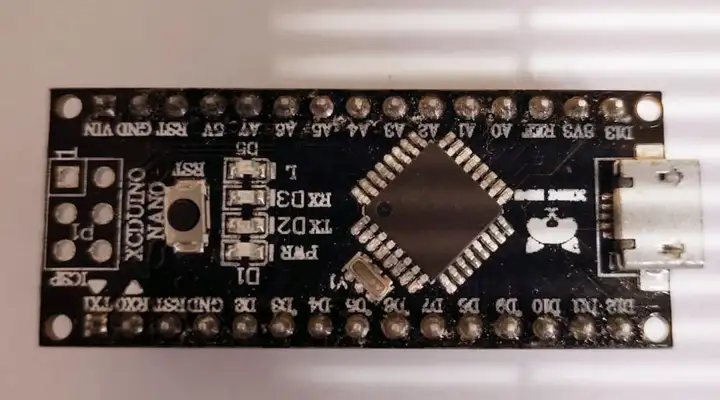
- Arduino UNO开发板 1块
- 0.96寸 I2C OLED显示屏(128X64) 1块
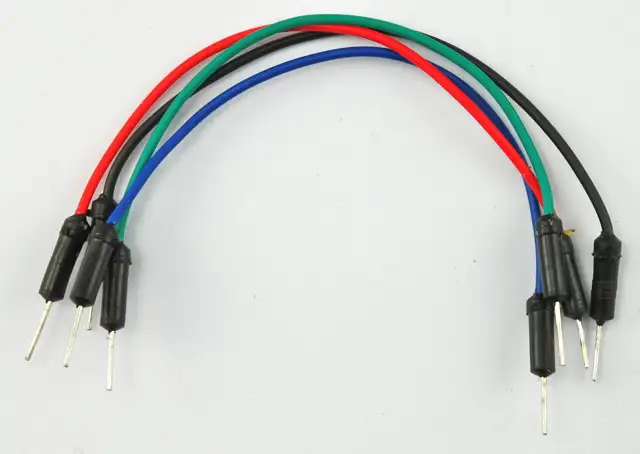
- 跳线 4根
完成本项目的前提
在本教程中,我将假设您知道Arduino 是什么,并且知道如何使用IDE和上传简单的示例程序。还要懂一点编程,最好是C语言编程。
让我们开始吧!
项目背景
什么是细胞自动机?我将解释一种细胞自动机,这是约翰·康威的《生命游戏》。它是一个网格或单元格,每个单元格都有真或假/开或关/活或死两种状态。这些细胞由2个简单的规则控制:
规则1:一个死亡的细胞被恰好3个活着的细胞包围,就会诞生
规则2:一个活着的细胞如果有3个或2个活着的细胞,它就会继续活着,否则它就死了
很简单的,是吧?如果你想了解更多的信息,请在百度上搜索的”生命游戏”或”细胞自动机”。
以下解释来源于网络
细胞自动机(cellular automata)是为模拟包括自组织结构在内的复杂现象提供的一个强有力的方法,也称为元胞自动机(Cellular Automaton)。细胞自动机模型的基本思想是:自然界里许多复杂结构和过程,归根到底只是由大量基本组成单元的简单相互作用所引起。细胞自动机主要研究由小的计算机或部件,按邻域连接方式连接成较大的、并行工作的计算机或部件的理论模型。它分为固定值型、周期型、混沌型以及复杂型。
电路
将Arduino和OLED显示屏插到面包板上,并开始有跳线连接它们。
Arduino—OLED连接关系
- 3.3v ———— VCC (注意你的OLED显示屏电压要求)
- GND ———– GND
- A4 ————– SDA
- A5 ————– SCL
然后我将两个面包板背靠背地连接在一起,创建了一个小电视的造型
程序设计示例
为了方便(并使之成为可能)使用OLED显示器,我们将使用Adafruit的两个库。如果您不知道如何添加库,请先阅读我专栏里的相关文章。
库1:Adafruit GFX库,用于处理OLED上显示的所有图形和文本https://github.com/adafruit/Adafruit-GFX-Library
库2:Adafruit SSD1306库,基本上是我们OLED的驱动程序。此库仅适用于OLED SSD1306 128×32和128×64:https://github.com/adafruit/Adafruit_SSD1306
完整的源代码如下:
#include <SPI.h>
#include <Wire.h>
#include <Adafruit_GFX.h>
#include <Adafruit_SSD1306.h>


#define OLED_RESET 4
Adafruit_SSD1306 display(OLED_RESET);

//set to 1 if the previous screen was the same as the current one
int sameScreen;

//Current grid
uint8_t grid[20][12];

//The new grid is used so that 'grid' is not compromised
uint8_t newgrid[20][12];


void setup()   {

  // Serial.begin(9600); //use only for debugging purposes

  //Setting up the display pay attention to the address. Yours might be different

  display.begin(SSD1306_SWITCHCAPVCC, 0x3C); //initialize with the I2C addr 0x3C (128x64)
  display.clearDisplay();
  display.setTextSize(1);
  display.setTextColor(WHITE);
  display.setCursor(0,0);

  sameScreen=0;
}

void loop() {

    //Displaying a simple splash screen

	display.clearDisplay();
	display.setTextSize(2);
	display.setTextColor(WHITE);
	display.setCursor(25,5);
	display.println(F("Arduino"));
	display.setCursor(20,25);
	display.println(F("Cellular"));
	display.setCursor(20,45);
	display.println(F("Automata"));
	display.display();
	delay(2500);

	//Initialize CA
	display.setTextSize(2);
	display.clearDisplay();
	initGrid();
	drawGrid();
	delay(2000);

	//Compute 100 generations (or cycles) or less if screen remains static
	for (int gen=0;gen<100;gen++)
	{

	   computeCA();
		if (sameScreen==1){
		  gen=100;
		  sameScreen=0;
		}
	   drawGrid();
	   delay(250);
	}

}

//Draws the grid on the display
void drawGrid(void) {

  for (int16_t x=1; x<19;x++) {
    // alternate colors

    for (int16_t y=1; y<11;y++) {
      // alternate colors
        uint8_t color = grid[x][y];
        display.fillRect(6*x, 6*y, 6, 6, color);
       // Serial.print(color);
    }
    //Serial.println('\n');
  }
  display.display();
}

//Initialize Grid
void initGrid(void){
  for (int16_t x=0; x<20;x++) {
    // alternate colors

    for (int16_t y=0; y<12;y++) {
      // alternate colors
        uint8_t color = random(2);
        if (x==0 || x==19 || y==0 || y==11){
          grid[x][y]=0;
        }
        else{
          if (color==1)
            grid[x][y]=1;
          else
            grid[x][y]=0;
        }
    }

  }
}

//Compute the CA. Basically everything related to CA starts here
void computeCA(){
  for (int16_t x=1; x<19;x++) {
    // alternate colors

    for (int16_t y=1; y<11;y++) {
      // alternate colors
        int neighbors = getNumberOfNeighbors(x,y);
        if (grid[x][y]==1 && (neighbors == 2 || neighbors == 3 ))
        {
          newgrid[x][y]=1;
        }
        else if (grid[x][y]==1)  newgrid[x][y]=0;
        if (grid[x][y]==0 && (neighbors==3))
        {
          newgrid[x][y]=1;
        }
        else if (grid[x][y]==0) newgrid[x][y]=0;
    }

  }

  if (isSameScreen()) sameScreen=1;

  for (int16_t x=1; x<19;x++) {
    // alternate colors

    for (int16_t y=1; y<11;y++) {
      grid[x][y]=newgrid[x][y];
    }
  }
}

//check the Moore neighborhood
int getNumberOfNeighbors(int x, int y){
 // Serial.println(grid[x-1][y]+grid[x-1][y-1]+grid[x][y-1]+grid[x+1][y-1]+grid[x+1][y]+grid[x+1][y+1]+grid[x][y+1]+grid[x-1][y+1]);
  return grid[x-1][y]+grid[x-1][y-1]+grid[x][y-1]+grid[x+1][y-1]+grid[x+1][y]+grid[x+1][y+1]+grid[x][y+1]+grid[x-1][y+1];
}

//Checks if the new screen is exactly like the previous one
bool isSameScreen(){
  for (int16_t x=1; x<20;x++) {
    // alternate colors

    for (int16_t y=1; y<11;y++) {
      if(grid[x][y]!=newgrid[x][y]) return false;
    }
  }
  return true;
}
一些代码解释
在第51行代码中,
display.begin(SSD1306_SWITCHCAPVCC, 0x3C); //initialize with the I2C addr 0x3C (128×64)
0X3C这个地址可以不同的OLED显示屏会有不同,买的时候可以问一下卖家默认的器件地址是多少,避免折腾。
让它跑起来吧


